Use defense, HP, stamina or load support before pure damage.
Avoid: Treat damage as mandatory in every slot.ELDEN RING · Wiki
ELDEN RING Talisman Guide: slots by build role
Use this page when you have talisman slots but no clear reason for each slot.
Primary sections
Start with your problem
Players equip popular talismans without matching them to the current build problem.
Every talisman slot should solve one problem: survival, damage window, stamina, equip load, FP, casting speed, status support or item discovery. If a talisman does not change a decision in combat, reconsider it.
Use stamina recovery/load support and shorten combos.
Avoid: Add more damage while stamina is the blocker.Swap discovery/sustain utility out before boss attempts.
Avoid: Keep farming talismans in boss fights.Match talismans to actual actions: jump attacks, skills, casting or successive hits.
Avoid: Equip synergy pieces without using the action.Problem solver
Give every talisman slot a job
Talisman pages should stop players from copying damage slots that do not solve the current fight.
You die before learning
Survival slot is valid.
Use defense, HP, stamina or load support before pure damage.
Do not: Treat damage as mandatory in every slot. Open boss readiness.You run out of stamina
The slot job is stamina or load.
Use stamina recovery/load support and shorten combos.
Do not: Add more damage while stamina is the blocker. Open build page.You farm or explore
Utility slots are route-specific.
Swap discovery/sustain utility out before boss attempts.
Do not: Keep farming talismans in boss fights. Open locations/achievements.You need build synergy
Pairing matters.
Match talismans to actual actions: jump attacks, skills, casting or successive hits.
Do not: Equip synergy pieces without using the action. Open build pages.Playable tools
Use this while planning your route
These tools turn the guide into a quick decision surface for boss attempts, builds, quests and backups.
Decision tool
Talisman slot selector
Pick the slot job before copying a setup.
Choose the current state to get the next action.
Video
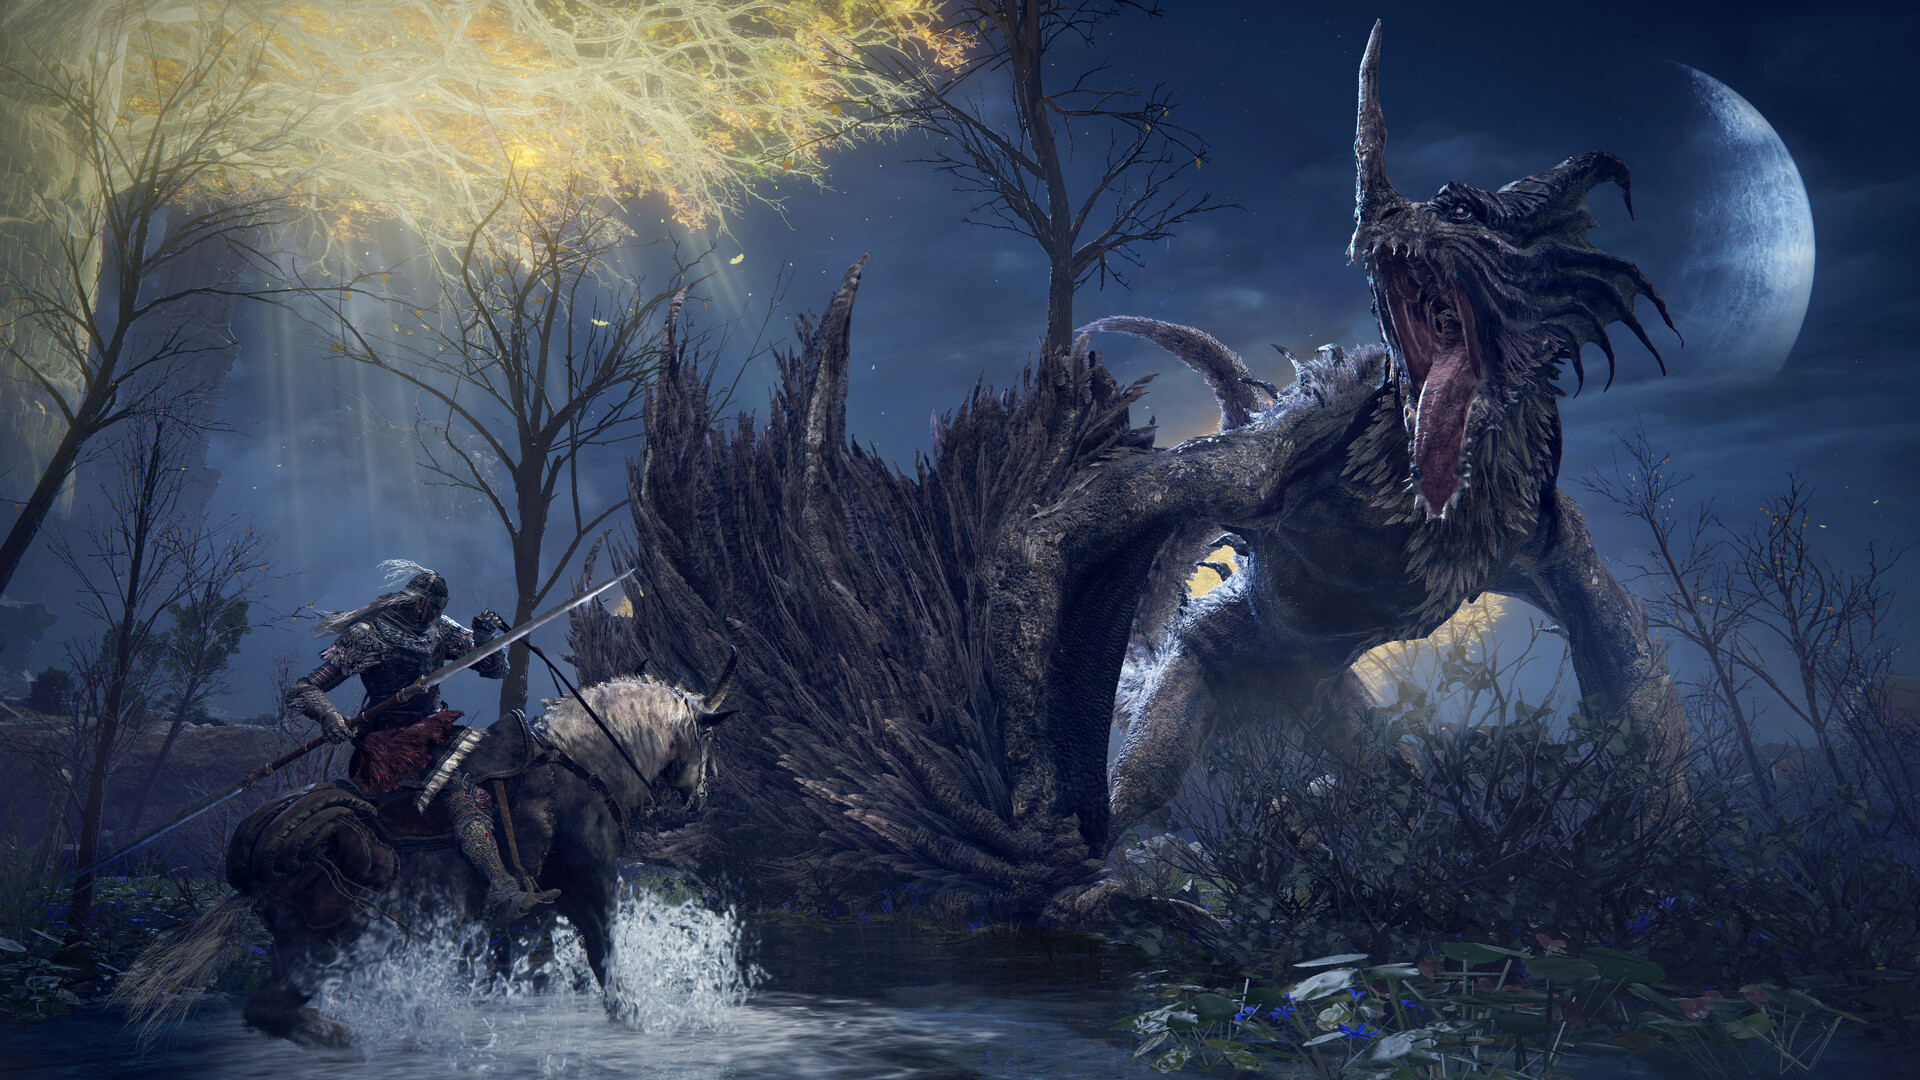
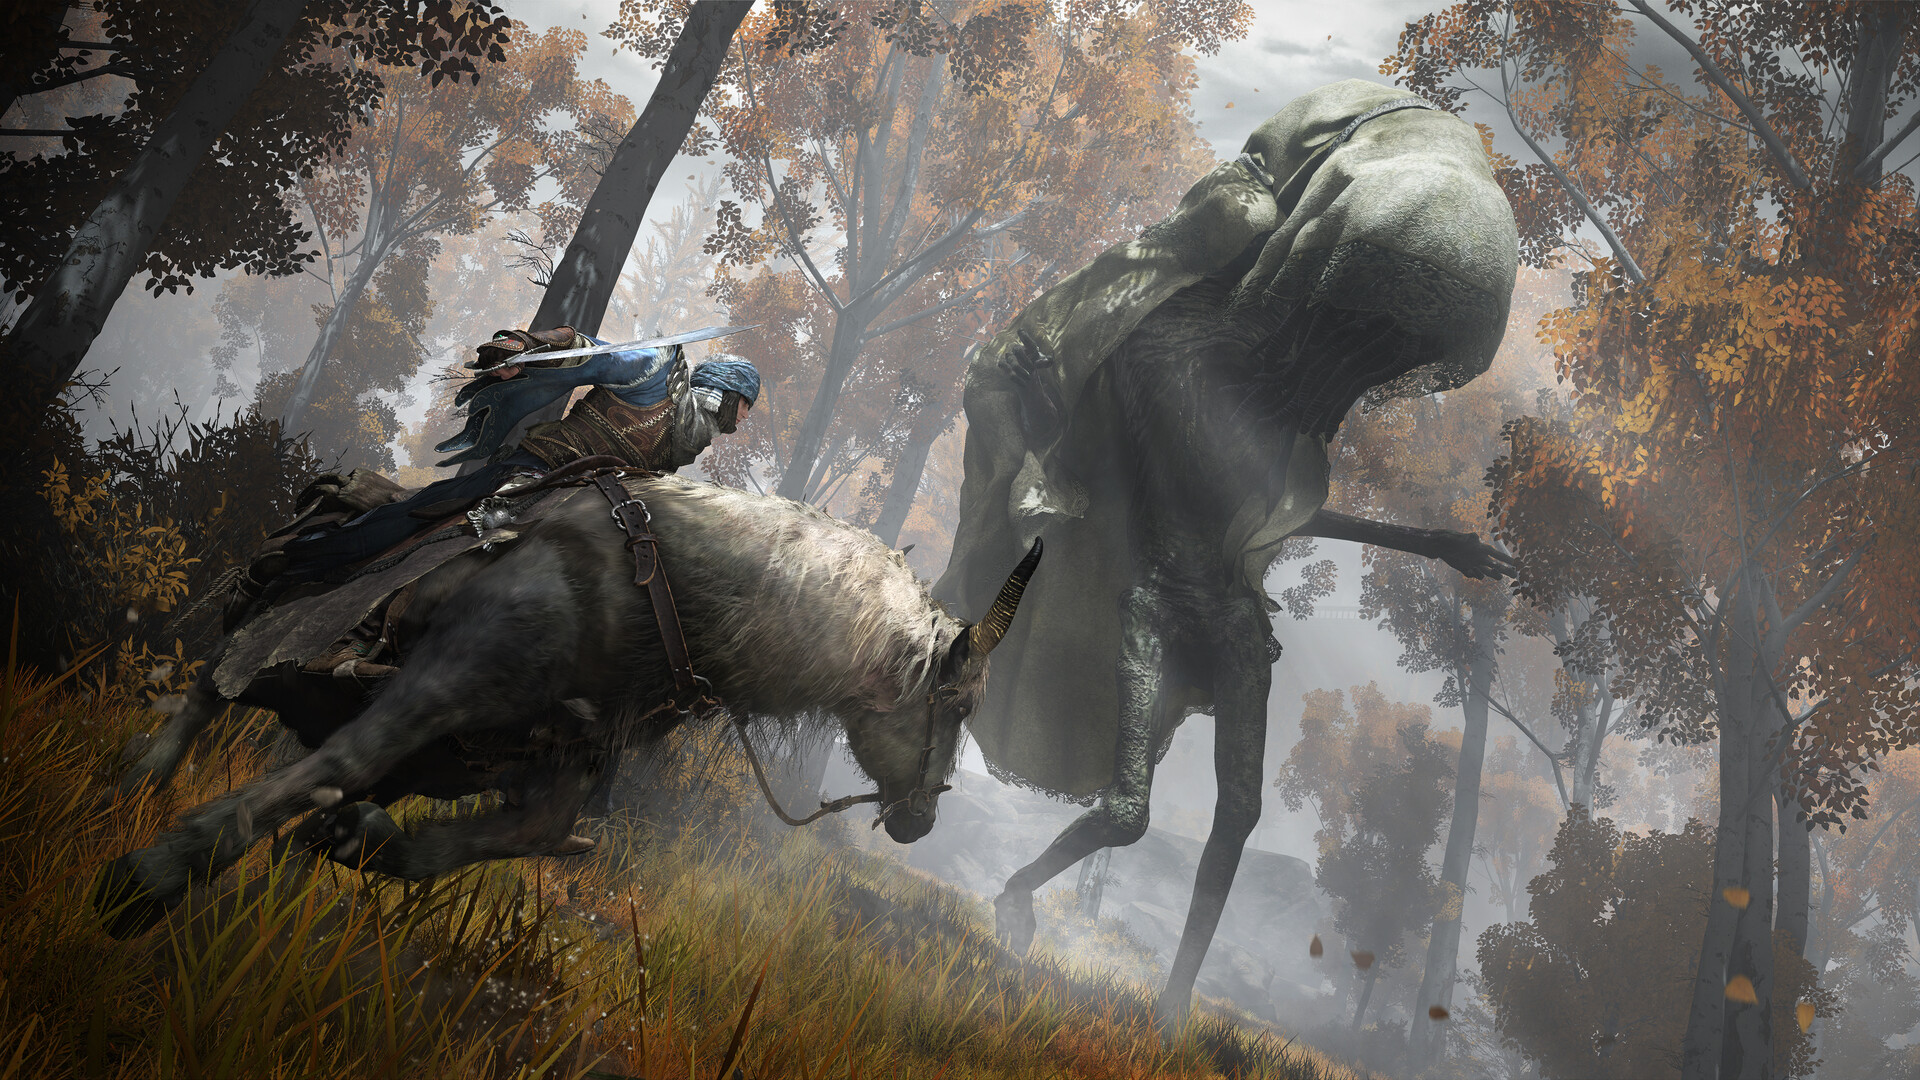
ELDEN RING official Steam trailer
Official Steam media is used as the video source. It gives visual context without hosting third-party clips.
Open official Steam mediaStructured data
Real entries to check while playing
These tables turn the page into a working reference instead of a text-only article. Exact values should stay tied to the source trail and update date.
Database
Talisman slot data
| Talisman | Role | Acquisition | Route stage | Pair with | Tradeoff | Swap when | Verification | Sources |
|---|---|---|---|---|---|---|---|---|
| Green Turtle Talisman | Stamina recovery | Summonwater Village route | Early | Any melee route that dodges and punishes often | No direct damage or defense | When stamina is no longer the bottleneck | source-backed guidance medium confidence 2026-05-07 | Green Turtle Talisman referenceELDEN RING talisman reference |
| Erdtree's Favor | General HP, stamina and equip load support | Fringefolk Hero Grave and later variant routes | Early to late | Survival or equip-load planning | Competes with specialized damage slots | When a focused boss setup needs exact role talismans | source-backed guidance medium confidence 2026-05-07 | Erdtree's Favor referenceELDEN RING talisman reference |
| Radagon's Soreseal | Early stat boost | Fort Faroth route | Early | Requirement-rushing melee builds | Increases damage taken | When enemy damage starts causing dangerous thresholds | source-backed guidance medium confidence 2026-05-07 | Radagon's Soreseal referenceELDEN RING talisman reference |
| Claw Talisman | Jump attack damage | Stormveil Castle route | Early | Greatsword, colossal and dual-wield jump pressure | Only helps if jump attacks are actually part of the plan | When the fight punishes airborne starts | source-backed guidance medium confidence 2026-05-07 | Claw Talisman referenceELDEN RING talisman reference |
| Shard of Alexander | Skill damage payoff | Alexander quest route | Late | Weapon art builds and boss punish skills | Requires quest completion and skill-focused play | When normal attacks or spells carry the fight instead | source-backed guidance medium confidence 2026-05-07 | Shard of Alexander referenceELDEN RING talisman reference |
| Carian Filigreed Crest | FP cost reduction for skills | Blaidd/Iji route purchase condition | Early to mid | Weapon skill builds with frequent FP use | Does not help stamina, HP or raw defense | When FP use is rare or Flask pressure is solved | source-backed guidance medium confidence 2026-05-07 | Carian Filigreed Crest referenceELDEN RING talisman reference |
| Dragoncrest Greatshield Talisman | Physical defense | Haligtree route | Late | Boss learning and physical-damage walls | No damage boost and late-game route gate | When elemental damage or offense is the real blocker | source-backed guidance medium confidence 2026-05-07 | Dragoncrest Greatshield Talisman referenceELDEN RING talisman reference |
| Lord of Blood's Exultation | Bleed damage window | Leyndell Catacombs route | Mid to late | Bleed weapons and multi-hit status builds | Dead slot against bleed-immune or status-poor fights | When the target cannot be bled reliably | source-backed guidance medium confidence 2026-05-07 | Lord of Blood's Exultation referenceELDEN RING talisman reference |
| Radagon Icon | Casting speed | Raya Lucaria route | Mid | Sorcery and incantation builds with long casts | Does not solve FP or damage by itself | When cast speed is already comfortable | source-backed guidance medium confidence 2026-05-07 | Radagon Icon referenceELDEN RING talisman reference |
| Gold Scarab | Rune gain utility | Abandoned Cave route | Mid | Farming and catch-up leveling sessions | Combat slot cost is high for real boss attempts | Before entering difficult fights | source-backed guidance medium confidence 2026-05-07 | Gold Scarab referenceELDEN RING talisman reference |
| Arsenal Charm | Equip load support | Nepheli route reward | Early | Medium-roll stabilization for heavier weapons or armor | No direct mitigation if load is already comfortable | When Great-Jar or Endurance investment replaces it | source-backed guidance medium confidence 2026-05-07 | Arsenal Charm referenceELDEN RING talisman reference |
| Great-Jar's Arsenal | Major equip load support | Caelid Great-Jar challenge route | Mid | Heavy weapons, armor and shield load plans | Requires a difficult route and combat challenge | When the setup already medium-rolls cleanly | source-backed guidance medium confidence 2026-05-07 | Great-Jar's Arsenal referenceELDEN RING talisman reference |
| Ritual Sword Talisman | Full-HP damage | Lux Ruins route | Mid | Safe ranged openers or clean boss phases | Loses value after taking damage | When chip damage is constant | source-backed guidance medium confidence 2026-05-07 | Ritual Sword Talisman referenceELDEN RING talisman reference |
| Ritual Shield Talisman | Full-HP protection | Leyndell route | Mid | Learning attempts where the first hit decides survival | Only protects while HP is full | When sustained pressure is the problem | source-backed guidance medium confidence 2026-05-07 | Ritual Shield Talisman referenceELDEN RING talisman reference |
| Axe Talisman | Charged attack support | Mistwood Ruins route | Early | Charged heavy punish routes and stance pressure | No value for fast light-attack play | When charge windows are unsafe | source-backed guidance medium confidence 2026-05-07 | Axe Talisman referenceELDEN RING talisman reference |
| Spear Talisman | Counter-thrust support | Liurnia cave route | Mid | Spear, thrusting sword and shield-poke styles | Narrow damage condition | When enemies do not give safe counter windows | source-backed guidance medium confidence 2026-05-07 | Spear Talisman referenceELDEN RING talisman reference |
| Curved Sword Talisman | Guard counter support | Stormveil Castle route | Early | Shield routes that use guard counters often | No help if dodging or two-handing is the plan | When bosses break guard too easily | source-backed guidance medium confidence 2026-05-07 | Curved Sword Talisman referenceELDEN RING talisman reference |
| Godfrey Icon | Charged skill or spell support | Golden Lineage Evergaol route | Mid | Charged spells and selected weapon skills | Only works on compatible charged actions | When the core attack cannot be charged | source-backed guidance medium confidence 2026-05-07 | Godfrey Icon referenceELDEN RING talisman reference |
| Graven-Mass Talisman | Sorcery damage | Consecrated Snowfield route | Late | Committed sorcery builds | Late access and no survival utility | When cast timing or FP is the blocker | source-backed guidance medium confidence 2026-05-07 | Graven-Mass Talisman referenceELDEN RING talisman reference |
| Flock's Canvas Talisman | Incantation damage | Gowry/Millicent-related route | Late | Committed incantation builds | Quest dependency and no defensive value | When utility incantations matter more than damage | source-backed guidance medium confidence 2026-05-07 | Flock's Canvas Talisman referenceELDEN RING talisman reference |
| Fire Scorpion Charm | Fire damage boost | Fort Laiedd route | Mid | Fire skills, incantations and fire weapon setups | Increases damage taken | When survivability is unstable | source-backed guidance medium confidence 2026-05-07 | Fire Scorpion Charm referenceELDEN RING talisman reference |
| Magic Scorpion Charm | Magic damage boost | Seluvis quest-related route | Mid | Magic damage builds seeking burst | Increases damage taken and has quest dependency | When learning a boss or preserving NPC routes matters more | source-backed guidance medium confidence 2026-05-07 | Magic Scorpion Charm referenceELDEN RING talisman reference |
| Rotten Winged Sword Insignia | Successive attack boost | Millicent quest route | Late | Fast multi-hit weapons and status builds | Quest branch and sustained-hit requirement | When hit windows are short or inconsistent | source-backed guidance medium confidence 2026-05-07 | Rotten Winged Sword Insignia referenceELDEN RING talisman reference |
| Millicent's Prosthesis | Dexterity and successive attack boost | Millicent quest branch route | Late | Dexterity multi-hit builds | Mutually sensitive quest choice and build specificity | When another quest outcome is more important | source-backed guidance medium confidence 2026-05-07 | Millicent's Prosthesis referenceELDEN RING talisman reference |
| Taker's Cameo | HP on enemy defeat | Volcano Manor quest reward route | Mid | Exploration sustain and dungeon clearing | Low value in single-boss arenas | Before boss-only attempts | source-backed guidance medium confidence 2026-05-07 | Taker's Cameo referenceELDEN RING talisman reference |
Database
Build decision data
| Player state | Likely issue | Do next | Avoid | Verification | Sources |
|---|---|---|---|---|---|
| You like slow heavy hits but get punished after every swing | The build role is right, but recovery and stamina are not controlled | Use fewer attacks per opening, keep medium roll and test stagger windows | Do not add more weight if it breaks recovery | source-backed guidance medium confidence 2026-05-07 | ELDEN RING weapon referenceELDEN RING talisman reference |
| Damage feels high but bosses still kill you fast | Survival and equip load lag behind offense | Stabilize Vigor, armor/load and defensive talisman swaps | Do not treat every death as a weapon problem | source-backed guidance medium confidence 2026-05-07 | ELDEN RING talisman referenceElden Ring Wiki armor sets list |
| You cannot meet requirements cleanly | The weapon is ahead of your route budget | Use a lower-pressure Strength weapon until stat and load budget catches up | Do not rush requirements by gutting survival | source-backed guidance medium confidence 2026-05-07 | ELDEN RING weapon reference |
| You stagger normal enemies but not bosses | Boss windows need planned charged or jump pressure | Use Claw/Axe-style slot logic only when the moves are actually used | Do not equip damage talismans that do not change your actions | source-backed guidance medium confidence 2026-05-07 | ELDEN RING talisman referenceELDEN RING boss reference |
| You want a simple first clear | Complex swaps are not needed yet | Use one main weapon, one backup damage option and a conservative talisman set | Do not copy late-game showcase setups too early | source-backed guidance medium confidence 2026-05-07 | ELDEN RING weapon reference |
Database
Build decision data
| Player state | Likely issue | Do next | Avoid | Verification | Sources |
|---|---|---|---|---|---|
| Bleed melts some enemies but fails elsewhere | The build lacks non-bleed fallback damage | Keep a backup weapon or affinity plan for resistant targets | Do not assume bleed solves every boss | source-backed guidance medium confidence 2026-05-07 | ELDEN RING weapon referenceELDEN RING boss reference |
| You die while trying to keep hit chains active | Successive-hit logic is creating greed | Use shorter pressure bursts and reset stamina | Do not chase talisman procs into unsafe strings | source-backed guidance medium confidence 2026-05-07 | ELDEN RING talisman reference |
| Arcane/Dex stat split feels weak early | The build is stretching requirements before survival | Meet minimums first, then invest only after the weapon and route justify it | Do not respec just because one video build is late-game strong | source-backed guidance medium confidence 2026-05-07 | ELDEN RING weapon reference |
| Fast weapons feel good but boss damage feels low | Upgrade path or talisman pairing may be behind | Check weapon upgrade, Lord of Blood/winged insignia logic and resistant enemies | Do not add more weapons before upgrading the main one | source-backed guidance medium confidence 2026-05-07 | ELDEN RING weapon referenceELDEN RING talisman reference |
| You want style without constant deaths | Mobility is useful only if stamina remains available | Keep medium roll, stamina margin and one safe punish rule per boss | Do not turn every opening into a full combo | source-backed guidance medium confidence 2026-05-07 | ELDEN RING boss reference |
Player problem
Players equip popular talismans without matching them to the current build problem.
Every talisman slot should solve one problem: survival, damage window, stamina, equip load, FP, casting speed, status support or item discovery. If a talisman does not change a decision in combat, reconsider it.
Talisman jobs
Talisman planning starts by naming the problem. Damage is only one category.
- Use survival when deaths happen before phase learning.
- Use stamina or equip load when movement is the blocker.
- Use damage when you already survive but fights run too long.
- Use utility when exploring, farming or solving area hazards.
Boss set versus exploration set
A boss loadout and exploration loadout should not always match.
- Boss sets should support damage windows and survival.
- Exploration sets can support discovery, mobility and resource comfort.
- Status zones can justify resistance or healing support.
- Caster sets should account for FP and cast windows.
Stacking and tradeoffs
Some talismans improve one thing while making another weaker. The guide should call out the tradeoff, not only the upside.
- Watch for damage taken penalties.
- Avoid over-stacking damage when survival is the real blocker.
- Use equip load talismans to preserve medium roll only when the slot cost is worth it.
- Recheck slots after respec or weapon change.
Talisman slot planning
| Problem | Talisman role | Check |
|---|---|---|
| Dying too fast | HP, defense or resistance support | Does it change hit thresholds? |
| Low damage | Damage boost for your actual attack type | Does it apply to your weapon or spell? |
| Heavy load | Equip load support | Does it preserve medium roll? |
| Caster pressure | FP, casting or spell boost | Can you still survive mistakes? |
| Page scope | ELDEN RING Talisman Guide: slots by build role | Use this page-specific source trail before applying the recommendation. |
Action checklist
Do this in order
- Name the job for each slot.
- Separate boss, exploration and farming sets.
- Check damage taken penalties.
- Rebuild talismans after changing weapon or stats.
- Source-check exact talisman locations before writing item pages.
FAQ
Common questions
What talisman should beginners use?
Use talismans that improve survival, stamina or equip comfort until you know your build's damage plan.
Should I swap talismans often?
Yes. Swapping by boss, area and goal is part of practical routing.
Sources