Upgrade weapon, improve Flask, stabilize load and use a route detour.
Avoid: Assume one more tip fixes one-shot attempts.ELDEN RING · Guides
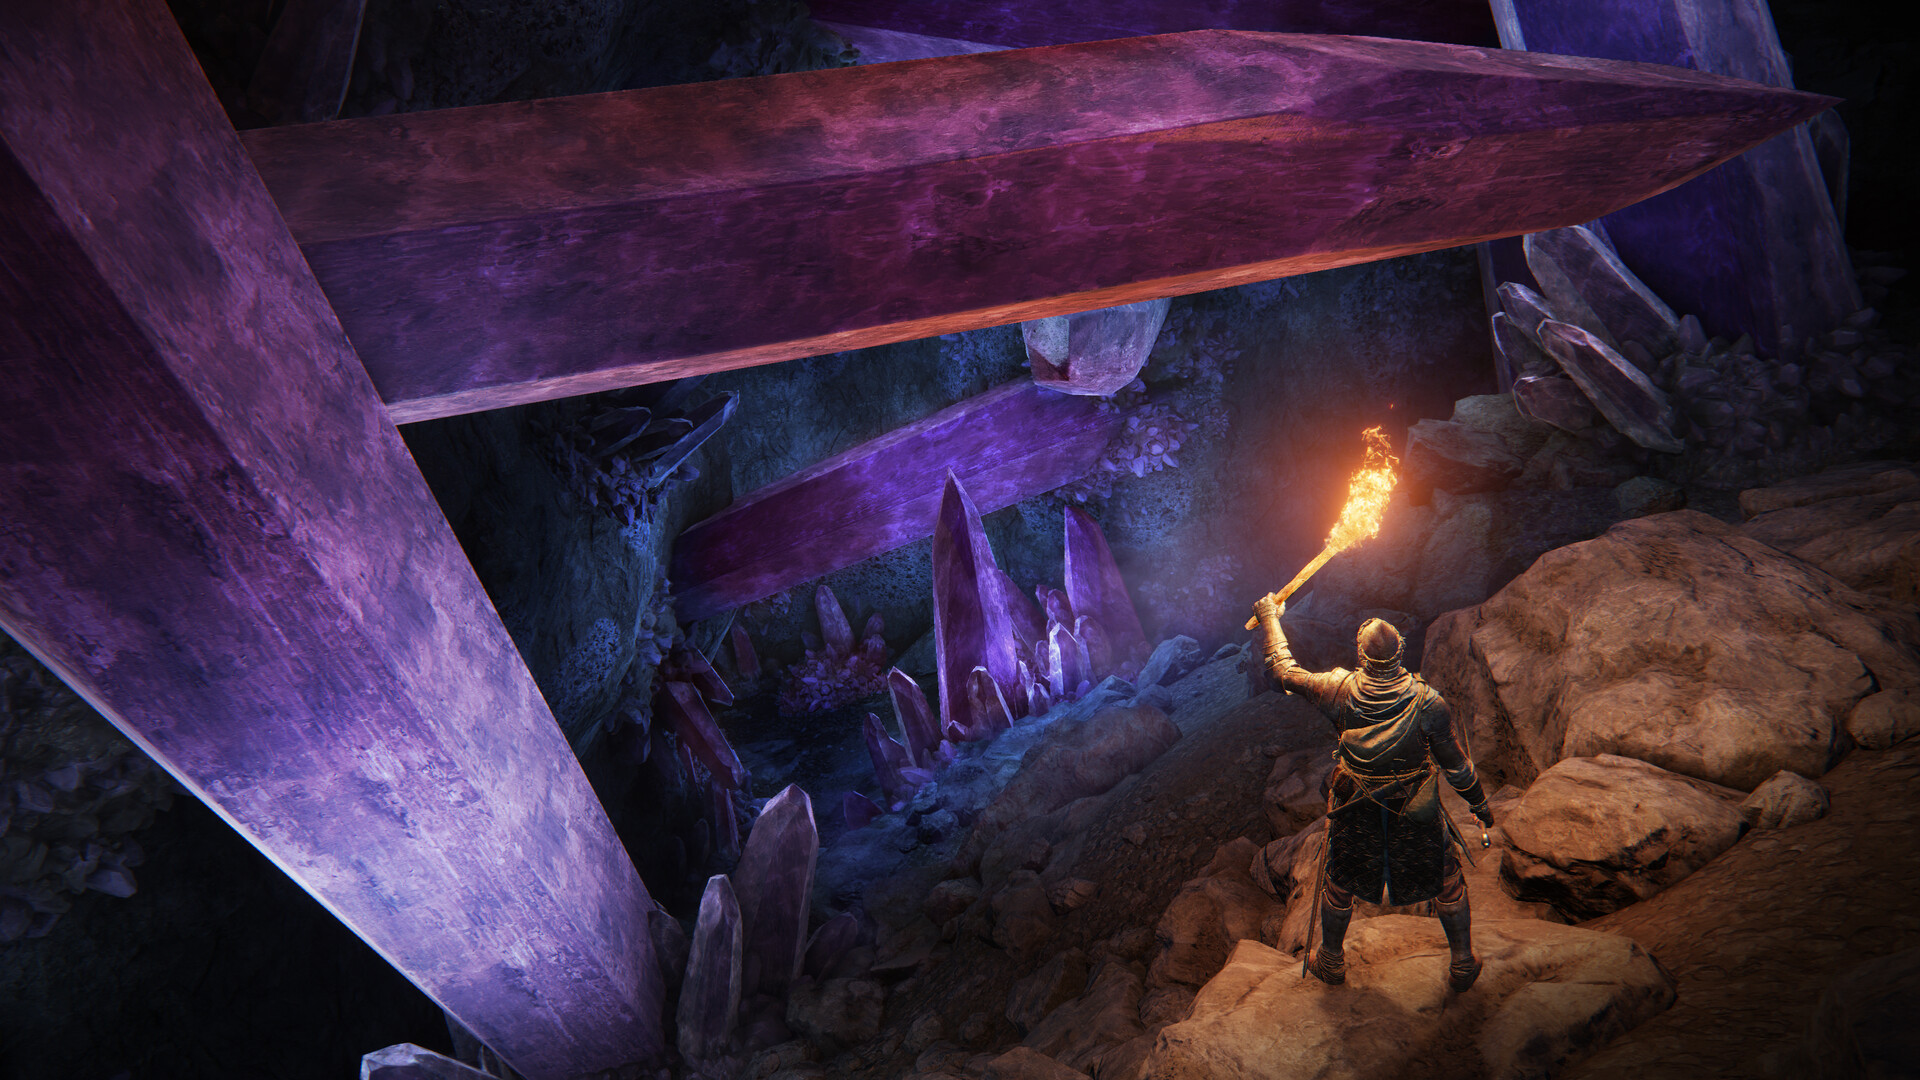
ELDEN RING boss guides: order, preparation and failure checks
Use this as a boss hub before opening a deeper page for a specific fight.
Primary sections
Start with your problem
Bosses feel unfair when players only learn attacks but ignore route, damage type, Flask strength and character readiness.
A boss attempt should answer four questions: can you reach the arena safely, survive the main punish windows, deal enough damage and keep stamina or FP under control.
Run observation attempts and write the first repeated death pattern.
Avoid: Change builds after every phase-two death.Check weapon upgrade, build role and boss resistance context.
Avoid: Farm levels while ignoring weapon path.Use supported help for progression and solo rules for challenge runs.
Avoid: Treat help as failure if the goal is route progress.Problem solver
Diagnose boss attempts before retrying
The hub should send players to the right next move: prep, observation, build fix or specific fight page.
Dead before learning
Readiness is the blocker.
Upgrade weapon, improve Flask, stabilize load and use a route detour.
Do not: Assume one more tip fixes one-shot attempts. Open the specific boss guide after route power improves.Reach phase two but panic
Pattern learning is now the blocker.
Run observation attempts and write the first repeated death pattern.
Do not: Change builds after every phase-two death. Open boss-specific punish windows.Fight lasts forever
Damage or damage type is behind.
Check weapon upgrade, build role and boss resistance context.
Do not: Farm levels while ignoring weapon path. Open weapons/builds.Summon question
Goal clarity matters.
Use supported help for progression and solo rules for challenge runs.
Do not: Treat help as failure if the goal is route progress. Use readiness checker first.Playable tools
Use this while planning your route
These tools turn the guide into a quick decision surface for boss attempts, builds, quests and backups.
Tool
Boss readiness checker
Use this before forcing more attempts. It points you back to route work when the fight is not the real blocker.
Select your current state to get a readiness call.
Decision tool
Boss attempt decision
Choose what to do before the next boss session.
Choose the current state to get the next action.

Video
ELDEN RING official Steam trailer
Official Steam media is used as the video source. It gives visual context without hosting third-party clips.
Open official Steam mediaStructured data
Real entries to check while playing
These tables turn the page into a working reference instead of a text-only article. Exact values should stay tied to the source trail and update date.
Database
Boss route data
| Boss | Region | Role | Readiness | What usually kills players | Next action | Verification | Sources |
|---|---|---|---|---|---|---|---|
| Tree Sentinel | Limgrave | Early field lesson | Optional; return with levels, mount comfort and upgraded weapon | Trying to fight immediately as a fresh character | Mark it, learn mounted spacing later | source-backed fact high confidence 2026-05-07 | ELDEN RING boss referenceELDEN RING Steam store |
| Margit, the Fell Omen | Stormhill | First major readiness check | Upgraded main weapon, stronger Flask, enough Vigor to learn | Panic rolling delayed attacks | Practice safe punish windows and use summons if progressing | source-backed fact high confidence 2026-05-07 | ELDEN RING boss referenceELDEN RING Steam store |
| Godrick the Grafted | Stormveil Castle | First shardbearer milestone | Stormveil route and Flask pressure feel stable | Standing too close during phase change pressure | Use arena space and punish after committed attacks | source-backed fact high confidence 2026-05-07 | ELDEN RING boss referenceELDEN RING Steam store |
| Red Wolf of Radagon | Raya Lucaria | Fast pressure test | Comfortable dodging quick magic and lunges | Chasing too aggressively | Let it commit, then punish short recovery | source-backed fact high confidence 2026-05-07 | ELDEN RING boss referenceELDEN RING Steam store |
| Rennala, Queen of the Full Moon | Raya Lucaria | Magic and phase-control boss | Can handle phase one puzzle and phase two summons | Low magic resistance or poor pressure | Close distance and keep pressure in phase two | source-backed fact high confidence 2026-05-07 | ELDEN RING boss referenceELDEN RING Steam store |
| Starscourge Radahn | Caelid | Major festival boss | Comfort with large arena, summons and high damage windows | Crossing the arena without using cover and summons | Use summon signs and learn meteor phase spacing | source-backed fact high confidence 2026-05-07 | ELDEN RING boss referenceELDEN RING Steam store |
| Rykard, Lord of Blasphemy | Volcano Manor | Special weapon boss | Understand the arena weapon role | Ignoring the fight-specific tool | Use the intended weapon and manage distance | source-backed fact high confidence 2026-05-07 | ELDEN RING boss referenceELDEN RING Steam store |
| Morgott, the Omen King | Leyndell | Capital gatekeeper | Build has endgame direction and reliable damage | Mistiming long combo chains | Punish only after full chain commitment | source-backed fact high confidence 2026-05-07 | ELDEN RING boss referenceELDEN RING Steam store |
| Fire Giant | Mountaintops | Late-game endurance fight | Enough survival and patience for long phases | Poor camera and ankle pressure control | Use spacing, mount decisions and phase awareness | source-backed fact high confidence 2026-05-07 | ELDEN RING boss referenceELDEN RING Steam store |
| Godskin Duo | Crumbling Farum Azula | Multi-target pressure wall | Can control two enemies or use sleep/summon tools | Letting both enemies attack freely | Create separation and focus one target cycle | source-backed fact high confidence 2026-05-07 | ELDEN RING boss referenceELDEN RING Steam store |
| Maliketh, the Black Blade | Crumbling Farum Azula | Late-game damage and timing check | Strong survival and precise dodge timing | Panic rolling aerial phase pressure | Learn the landing punish and preserve healing | source-backed fact high confidence 2026-05-07 | ELDEN RING boss referenceELDEN RING Steam store |
| Godfrey / Hoarah Loux | Ashen Capital | Final melee skill check | Comfort with grab risk and ground shockwaves | Greedy attacks after stomp chains | Jump or dodge shockwaves and respect grabs | source-backed fact high confidence 2026-05-07 | ELDEN RING boss referenceELDEN RING Steam store |
| Radagon and Elden Beast | Final arena | Final sequence | Endgame damage, holy mitigation planning and patience | Spending all healing on Radagon or chasing Elden Beast poorly | Separate phase plans and conserve resources | source-backed fact high confidence 2026-05-07 | ELDEN RING boss referenceELDEN RING Steam store |
| Mohg, Lord of Blood | Mohgwyn Palace | Optional late-game and DLC access relevance | Bleed and phase ritual awareness | Ignoring phase transition pressure | Prepare for blood loss and source-check DLC requirements | source-backed fact high confidence 2026-05-07 | ELDEN RING boss referenceELDEN RING Steam store |
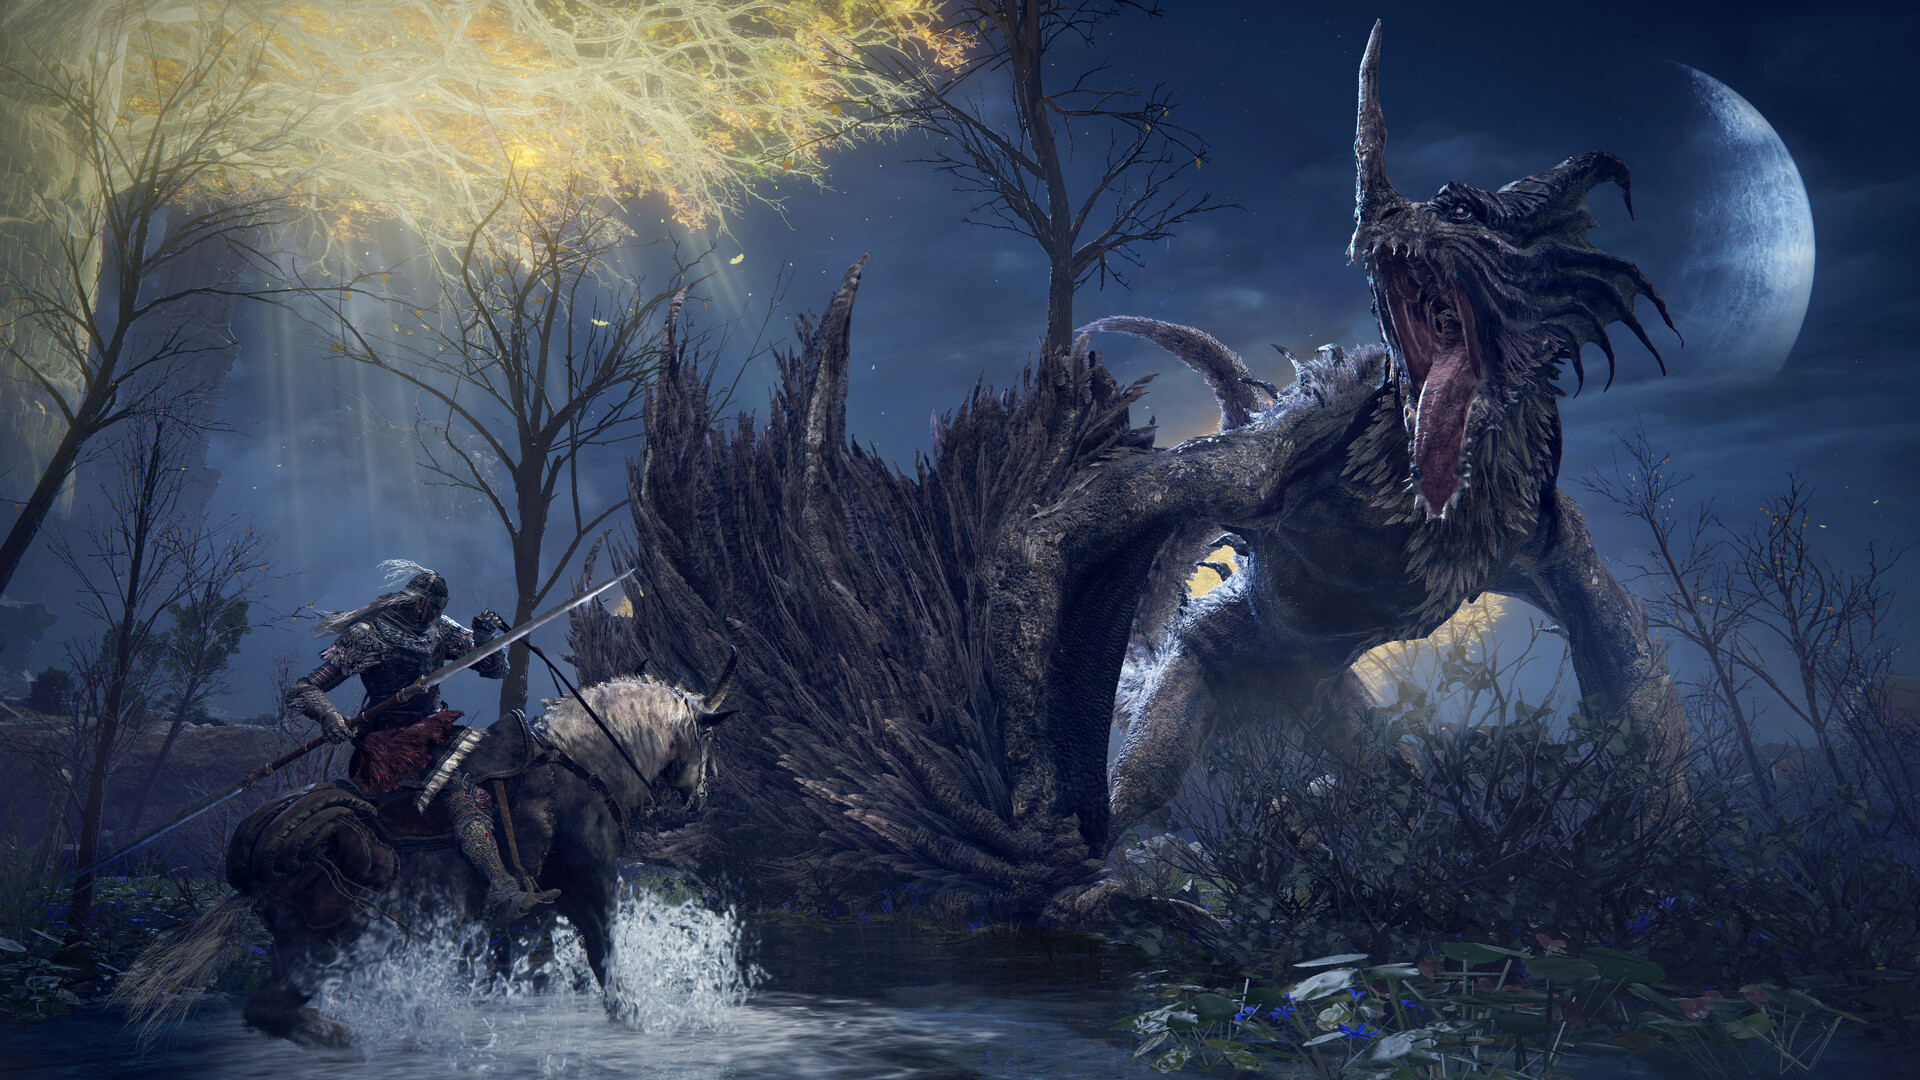
| Malenia, Blade of Miquella | Miquella's Haligtree | Optional superboss | Endgame build, patience and waterfowl response practice | Trading into lifesteal and panic rolling Waterfowl Dance | Treat as a specialized learning project, not normal progression | source-backed fact high confidence 2026-05-07 | ELDEN RING boss referenceELDEN RING Steam store |
Database
Boss readiness prep data
| Checkpoint | Need before serious attempts | What to do | Stop sign | Verification | Sources |
|---|---|---|---|---|---|
| Attempt length | You can reach Waterfowl or phase two often enough to learn | Run observation attempts and record the first repeated death pattern | If one opening mistake ends every run, raise survival or simplify the build first | source-backed guidance medium confidence 2026-05-07 | ELDEN RING boss referenceMalenia, Blade of Miquella wiki page |
| Damage plan | A clear punish source that does not require long greedy strings | Use short windows, status or safe skill pressure only if the build supports it | If every punish leaves you in recovery, change the plan | source-backed guidance medium confidence 2026-05-07 | ELDEN RING boss referenceELDEN RING weapon reference |
| Healing discipline | Enough spacing to heal without feeding lifesteal pressure | Heal only after a clear miss, knockdown, summon split or long reset | If healing creates more damage taken, make spacing the practice goal | source-backed guidance medium confidence 2026-05-07 | ELDEN RING boss referenceMalenia, Blade of Miquella wiki page |
| Phase two focus | A plan for scarlet flower and aerial pressure | Use phase-two attempts to practice survival first, then add damage | If phase two is reached with no Flasks, phase one is still too expensive | source-backed guidance medium confidence 2026-05-07 | ELDEN RING boss referenceMalenia, Blade of Miquella wiki page |
Player problem
Bosses feel unfair when players only learn attacks but ignore route, damage type, Flask strength and character readiness.
A boss attempt should answer four questions: can you reach the arena safely, survive the main punish windows, deal enough damage and keep stamina or FP under control.
Boss order logic
Boss order should follow progression gates and readiness. Optional bosses are useful when they provide runes, upgrade materials, talismans or practice.
- Use early bosses to test dodging, stamina and punish timing.
- Use dungeon bosses to test a new weapon before a major story boss.
- Return to field bosses when mounted combat or damage output improves.
- Track DLC bosses separately because balance and prerequisites differ.
Preparation checklist
Most failed attempts are not purely mechanical. The setup before the fight often decides whether learning is productive.
- Confirm you have a nearby Site of Grace or shortcut.
- Use the best Flask split for your build: more FP for casters, more HP for melee learning.
- Check if your weapon damage type is weak for the target.
- Use Spirit Ashes, NPC summons or player summons when your goal is progression.
Reading a phase
A practical boss guide should not just list moves. It should tell you what to watch, when to heal and what mistake is causing deaths.
- Count delayed attacks instead of rolling on the first animation.
- Heal after a known safe recovery window, not immediately after being hit.
- Save stamina for an exit dodge after attacking.
- Stop an attempt after three repeated identical deaths and change one variable.
Boss failure diagnosis
| Death pattern | Likely issue | Fix |
|---|---|---|
| One-shot or two-shot deaths | Vigor, armor, talisman or region mismatch | Raise survival and return later |
| No healing window | Healing after unsafe attacks | Learn one guaranteed safe window |
| Boss survives too long | Weapon upgrade or damage type behind | Upgrade weapon or change approach |
| Phase two panic | No plan for new attacks | Spend attempts observing instead of winning |
| Page scope | ELDEN RING boss guides: order, preparation and failure checks | Use this page-specific source trail before applying the recommendation. |
Action checklist
Do this in order
- Find the closest route to the arena.
- Decide whether this is a learning attempt or a winning attempt.
- Record the attack that kills you most often.
- Change one variable: Flask split, weapon, summon, talisman or route.
- Move on if the fight blocks learning rather than testing skill.
FAQ
Common questions
Should I use summons?
If your goal is normal progression, summons are part of the available toolset. Challenge rules are optional.
Why do bosses delay attacks?
Delayed attacks punish panic rolls. Watch the weapon or body release point, not the first movement.
Sources